Updated 25/07/2026
How to use Tailwind in a Blazor Application
Tailwind makes frontend development more bearable by avoiding different .css files for each page or component you create and by having neat utility classes
that boost your productivity. Installing it on a Blazor application is very straightforward. Below is the step-by-step process on how to install it on a Blazor web app.
Installing Node
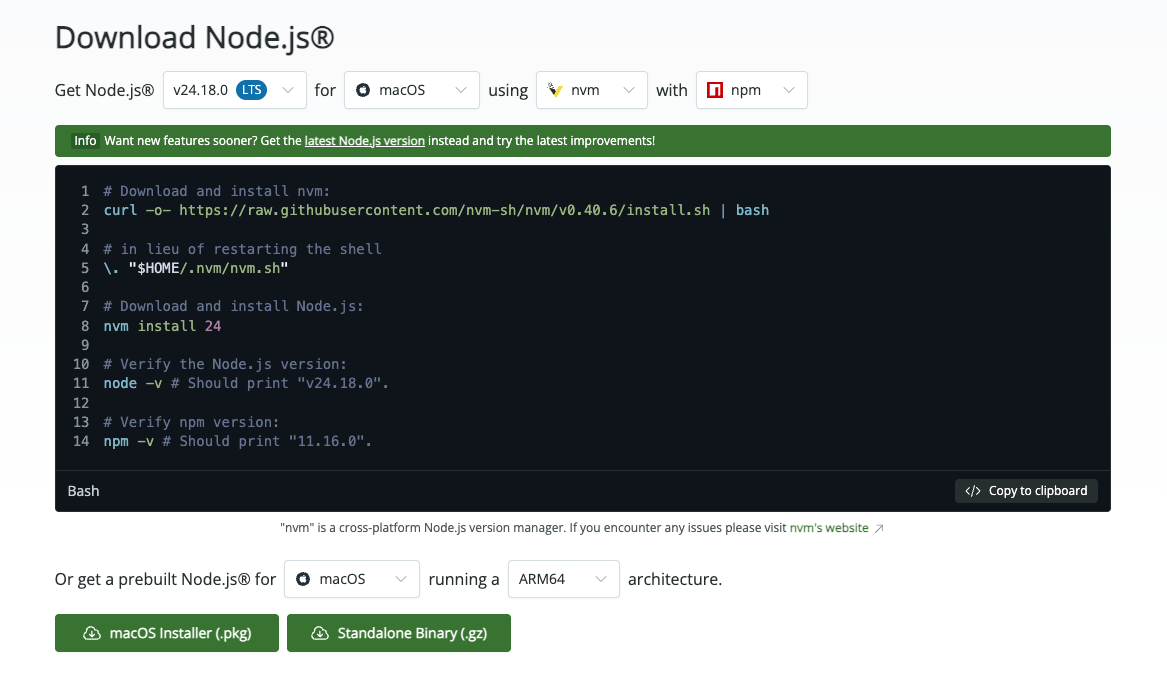
Node is the JavaScript runtime and is required for this — follow the installation guide on the Official Node Website and install the latest LTS version supported for your OS. It will bundle npm (Node Package Manager) that will allow us to install Tailwind.
Installing Tailwind CLI
The instructions are taken as they are from the official Tailwind installation instructions but adapted to work in our Blazor project.
Prepare your project
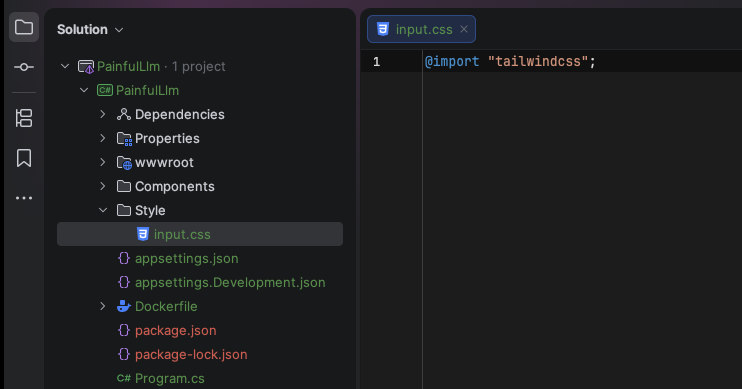
Create a folder called “Style” in the root of your project, and create a file called input.css; in it, put the Tailwind directive @import "tailwindcss";
Installing Tailwind
Run the following commands to install Tailwind. They should be executed in order inside your project folder (not the solution folder!).
  # Install the tailwindcss package and the CLI
  npm install tailwindcss @tailwindcss/cli

  # With Tailwind installed, you can run the Tailwind watcher:
  npx @tailwindcss/cli -i ./Style/input.css -o ./wwwroot/tailwind.css --watch
Modify your App.razor file to import the generated tailwind.css
Add this line to your App.razor file under the Components folder:
<link rel="stylesheet" href="@Assets["tailwind.css"]"/>
Conclusion and a helper
That’s it! Now your app is ready to use Tailwind classes. You can test it out with the code below, which should display a bold and underlined “Hello world!”:
  <h1 class="text-3xl font-bold underline">
    Hello world!
  </h1>
While the Tailwind watcher is running in your terminal, any changes you make in the .razor files will regenerate the .css file, and the styles will be automatically applied to your project. You can
also add a script to your package.json file to run the watcher easily without having to remember the watcher command:
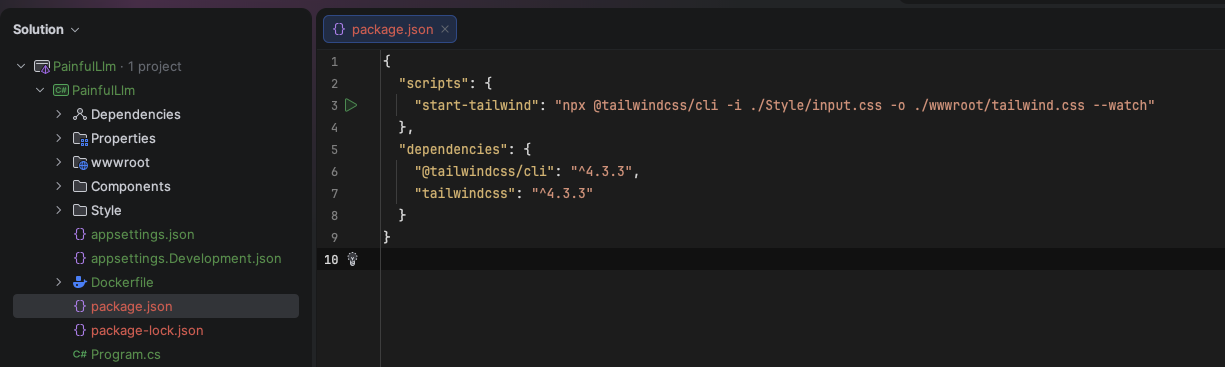
Then you can run npm run start-tailwind in the terminal at the root of your project, and it’ll start the watcher for you.
Thanks for reading! Hope that it helps you.